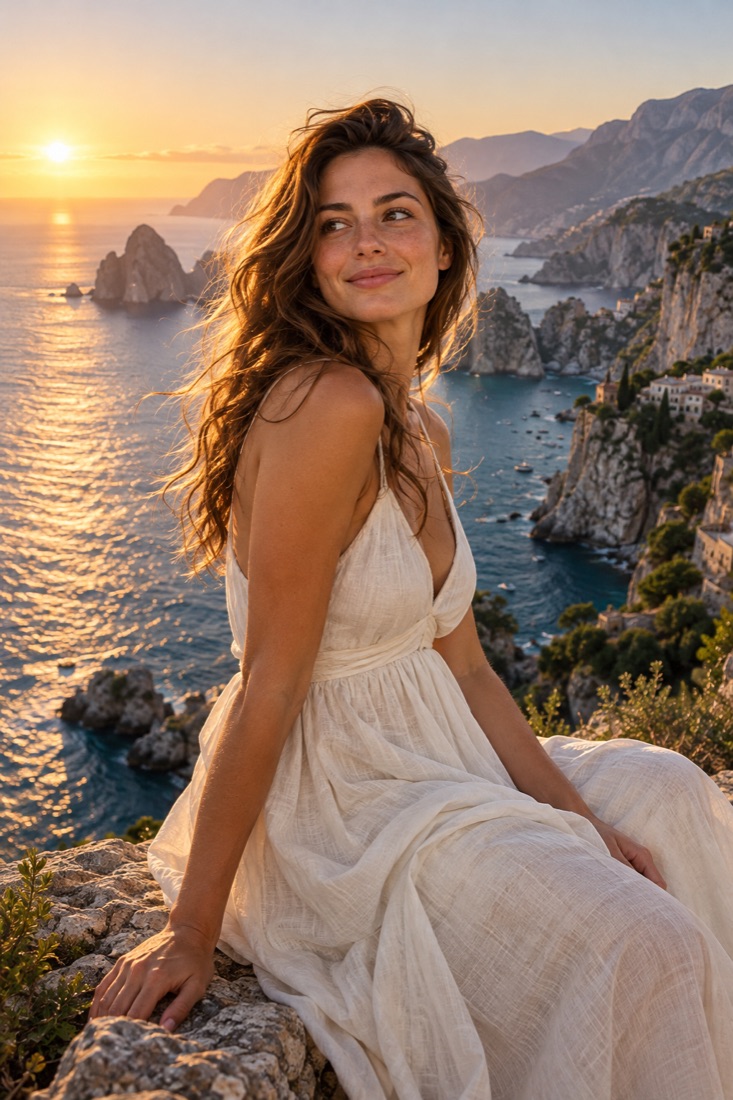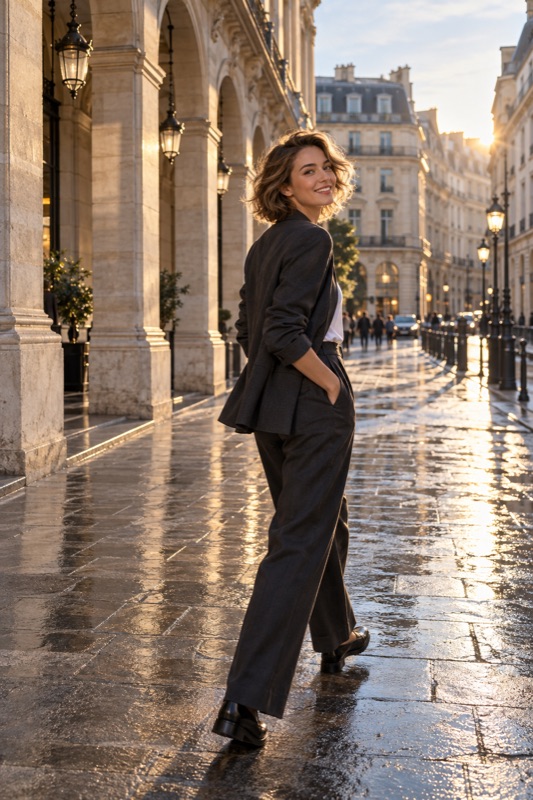
Start with Auto white balance and a saved test photo. If the whole scene looks too orange or blue, try a small cooler or warmer adjustment where supported. If different parts of the face have different color casts, simplify the lighting first. There is no single Kelvin number or skin color that every portrait should match.
Get it on Google PlayDecide whether the problem is color or brightness
A face can look too dark without looking too warm, or too orange while being bright enough. Increasing brightness does not directly solve the same problem as changing white balance. Look at the person's skin together with something familiar in the scene, then name the change you are trying to make.
Avoid treating a person's natural complexion as an error to correct. Your target is a believable rendering of that person in the intended light, not a universal shade copied from another photograph. Ask the person which saved version feels faithful to the moment and to them.
Use Auto as a reference, not an obstacle
White balance changes how the camera renders the color of illumination. Nikon explains automatic choices, lighting presets, and manual color-temperature control on cameras that provide them. Your phone may expose only some of these options, or none in its standard mode.
Take one Auto photograph first. If the scene has an unwanted overall orange cast, compare a slightly cooler rendering; for an unwanted blue cast, compare a warmer one. Use the visible direction of your camera's control rather than assuming all sliders or Kelvin interfaces work identically. Save both versions before deciding.
Recognize mixed light before chasing a number
A window may light one side of a face while a warm lamp lights the other. A colored wall can also reflect its tint into the scene. If a global adjustment improves one side but makes the other look worse, try changing the person's position or reducing an unnecessary light source when you are able to do so.
For a simple test, move closer to the window and farther from the competing lamp, without changing several camera settings. Take another picture in Auto. The goal is to see whether the lighting arrangement caused the uneven color. You do not need to neutralize a deliberate sunset or neon mood if that is the photograph you want.
| What you see | First experiment | What not to assume |
|---|---|---|
| Most of the scene looks unusually orange | Compare Auto with a small cooler adjustment | Every warm photograph needs correction |
| Most of the scene looks unusually blue | Compare with a small warmer adjustment | The subject's natural skin tone is the problem |
| The two sides of the face differ strongly | Simplify or reposition the competing lights | One global setting will perfectly fix both sides |
| The face is dark but the colors look plausible | Evaluate light direction and exposure | White balance is the same as brightness |
Do a controlled window-and-lamp exercise
Illustrative exercise: ask a willing friend to sit near a window with a lamp nearby. Make an Auto image, another after a small white-balance change, and a third after moving so the window provides the main light. Keep a neutral-looking object in view as a comparison aid, without pretending it is a calibrated reference.
Inspect the saved face, background, and neutral object together. Note whether the camera setting or the lighting move made the more useful improvement. If your camera has no white-balance control, compare the lighting positions in Auto instead. This exercise does not require buying an app or accessory.
- Keep an Auto image as the baseline.
- Name the unwanted cast rather than changing several controls.
- Try one modest color adjustment if supported.
- Test a simpler lighting position when the cast is uneven.
- Compare saved photographs with the same viewing conditions.
Check the result before applying it to every photo
Judge comparison images on the same display with the same screen settings. A changing viewing setup makes it harder to tell whether your camera adjustment helped. Compare the actual saved file, because camera processing can change the result after the preview.
When you move from the window to a restaurant or step into shade, reassess the setting. A useful choice in one location is not a permanent skin-tone preset. Keep the version that serves the scene, and return to Auto whenever a manual change makes the photograph less convincing.
Before your next photo walk
What Kelvin value is best for everyone's skin?
There is no universal value. The light sources, their mixture, the camera processing, and the intended appearance all matter. Start with a saved Auto reference and evaluate a specific unwanted cast.
Can white balance repair every colored light on a face?
No. Different lights can affect different parts of the face, and one global change may not neutralize them all. Try simplifying the lighting or intentionally keep the scene's color mood.
ShotCoach AI
ShotCoach AI can help with composition and supported camera adjustments when you want guidance during capture. AI guidance is paid, available controls vary, and you choose when to press the shutter.
Get it on Google PlayAvailable for Android · AI guidance is paid