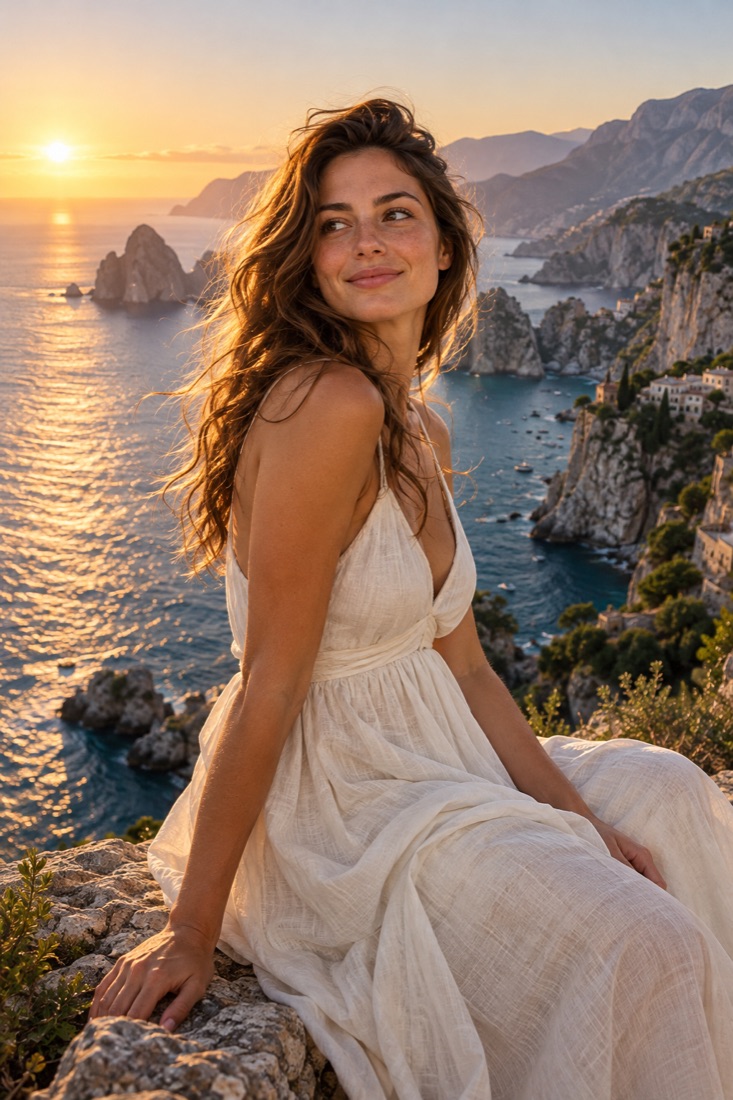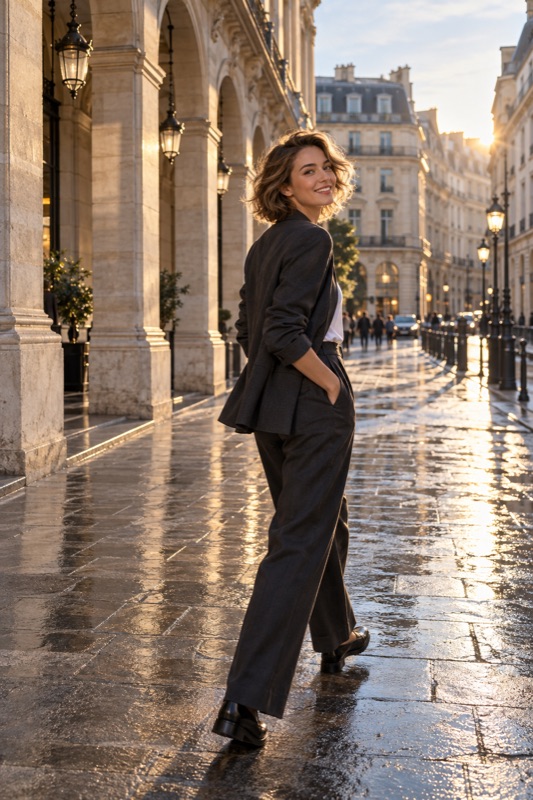
Start in Auto, focus on your subject, and inspect a saved test photo. Change shutter speed when movement is blurred, exposure when the picture is too bright or dark, and white balance when colors look wrong. Manual settings are useful only when your phone and camera app support them.
Get it on Google PlayStart with the picture, not the numbers
A professional-looking photograph does not require every control to be manual. Decide what needs to be clear: a face, a moving person, or a still city skyline. Take one image in Auto and identify a specific problem before changing anything. Auto may already make a better compromise than a copied preset.
The suggestions below are editorial starting points for practice, not a tested preset pack or a promise for every phone. Light, lens, movement, and camera processing change the result. If your camera does not offer a setting, work with the light or subject position rather than hunting for an unavailable control.
Shutter speed decides how movement appears
Shutter speed is the exposure time. A shorter exposure, such as 1/250 second, records less movement than a longer one such as 1/30 second, all else equal. Nikon's shutter guide explains this tradeoff between exposure and motion. Faster is not automatically better: in dim light, the camera must make up for the reduced exposure elsewhere.
For a person holding a pose, try 1/125 second if your manual camera supports it, then inspect the eyes. For walking, try 1/250 or 1/500 second and compare. These are starting experiments. A tripod reduces camera movement, but cannot stop the person from moving. Long exposures are therefore a different task from keeping a portrait sharp.
ISO and brightness are related, but they are not extra light
In ordinary manual shooting, increasing ISO makes the recorded image brighter for a given exposure. It does not add light to the scene or stop movement. Higher ISO can bring more visible noise and less usable detail, but a slightly noisy sharp picture may be preferable to a clean-looking blur.
Begin with Auto ISO where available. If you control ISO manually, use the lowest value that still gives an adequate exposure at the shutter speed your subject needs. Do not insist on ISO 100 in a dark restaurant. Moving toward a window or a brighter area can help more than repeatedly changing a number.
A practical starting table
Use this table only in a camera mode that exposes the listed controls. The shutter and ISO ranges are not guaranteed to produce the right brightness together. Check the meter and the saved image, then change one variable. Return to Auto when manual mode makes the result worse.
| Scene | Shutter to try | ISO approach | First check |
|---|---|---|---|
| Still portrait in daylight | 1/125–1/250 s | Auto, or start around 100–200 | Eyes sharp; face comfortably exposed |
| A person walking | 1/250–1/500 s | Auto, or raise only as needed | Hands and face not blurred |
| Indoor portrait near a window | Start at 1/125 s | Auto; expect more ISO than outdoors | Move toward light before slowing too far |
| Still night scene with support | Auto night mode first | Let the mode decide | Keep the phone steady through capture |
White balance, focus, and the aperture trap
White balance changes how warm or cool the scene appears. Start with Auto. If a white wall looks unusually orange under indoor lamps, try a cooler adjustment or a matching lighting preset. If daylight and colored lamps illuminate different sides of a face, changing one global setting will not make every area neutral; simplify the light instead.
Focus should land on what matters. In an ordinary phone camera, tap the face or use the available focus control, then check the saved picture. Google documents manual focus, shutter, and ISO controls only on supported Pixel models: even phones from one manufacturer do not expose identical controls.
Many phone lenses have a fixed physical aperture. A portrait-mode blur slider does not necessarily open or close a real lens aperture. Do not copy an interchangeable-lens camera's f/1.8 or f/5.6 instruction unless your device actually supports physical aperture adjustment. Background distance and framing remain useful controls.
A repeatable way to learn
Illustrative exercise: photograph the same cup beside a window in Auto, then make a second frame after changing only the brightness. Compare the label detail and the bright rim. Next, photograph a friend standing still and then walking through the same light. That separates exposure problems from motion problems without needing an expensive setup.
For night scenes, supported native night modes can combine their own processing with a longer capture. Google instructs Pixel users to hold still while Night Sight finishes. Do not assume a mode intended for a steady skyline will handle a moving portrait the same way.
ShotCoach AI can help with framing and supported camera adjustments when you would rather follow a direction than manage every setting. The exact controls depend on your phone. Use its ready cue as a moment to check the scene, then press the shutter yourself.
- Take one Auto photo as your reference.
- Name one problem: movement, focus, brightness, or color.
- Change the relevant control or the lighting.
- Compare saved images at the same viewing size.
- Keep the improvement, or return to Auto and try a different approach.
Before your next photo walk
What are the best camera settings for every photo?
There is no universal combination. A moving subject needs a different exposure time from a still night scene. Start with Auto and adjust for a visible problem in your own test photo.
Does a lower ISO always make a better portrait?
No. Lowering ISO can force a longer exposure or leave the picture too dark. Keep the subject sharp and adequately exposed, then compare noise and detail.
Can ShotCoach change every camera setting?
No. Adjustments depend on the controls exposed by the phone and camera mode. The app cannot give fixed-aperture hardware a physical variable aperture.
- Nikon: Understanding Shutter Speed
- Google: Take high quality photos on your Pixel
- Google: Take photos in low light or at night
ShotCoach AI
Learn by shooting. Get framing help and supported camera adjustments with ShotCoach AI.
Get it on Google PlayAvailable for Android · AI guidance is paid