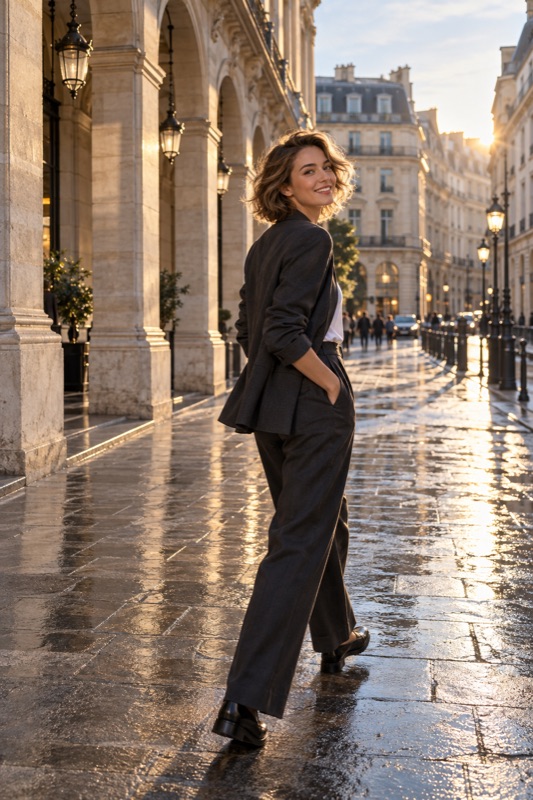
Start beside a window with indirect light, turn the face toward it, and take a saved test photo. Compare a front-facing position with a slight turn, simplify competing room lights where practical, and choose a background that keeps attention on the person.
Get it on Google PlayChoose the window before the outfit or prop
Walk around the room with your camera open and look at the face in each possible position. A beautiful room is not automatically the easiest place for a portrait. Start with a window that gives usable light without forcing the subject to squint or placing a narrow sun stripe across an eye.
If the window has direct sun, try another position or an existing sheer curtain. Do not assume every window gives soft light. Make a comparison photograph so the choice is based on the saved image rather than how bright the room feels to your eyes.
Make one light source understandable
Different lamps and daylight can create different colors across a face. Where you control the room, compare a photo with unnecessary overhead lights off. Nikon's window-light tip uses window illumination alone as a way to create a deliberate relationship between light and shadow.
You do not need to eliminate every shadow. Decide whether the portrait should feel evenly lit or more dramatic. For the first version, turn the face more toward the window. For the second, turn slightly away and check whether the darker eye still has the detail you want.
Use position before exposure sliders
If the face seems too dark, first move the chair or standing position toward the useful light. If one side is too bright, adjust the angle rather than immediately darkening the entire picture. Keep the phone's viewpoint similar during these tests so you can identify what changed.
Once the position works, set focus on the face using the available controls and make a saved test. The final processing can differ from the preview. Watch for a bright window taking over the composition; you can often frame it out while still using its light.
| Test result | Try a position change | Check again |
|---|---|---|
| Eyes sit in deep shadow | Turn the face more toward the window | Both eyes have the desired detail |
| A bright stripe crosses the face | Move out of the direct beam | Light is consistent across the portrait |
| The window dominates the picture | Change camera position to exclude it | The subject still receives window light |
| One side looks orange | Compare with a nearby room lamp switched off | Skin color is more consistent |
An illustrative bedroom portrait
Imagine making a casual portrait before going out. You begin seated on the bed with a bright window behind you. The background looks pleasant, but your face is hard to see. Instead of increasing every brightness control, move a chair beside the window and place the photographer with their back angled toward it.
Take a simple portrait first. Then introduce a book or jacket only if it gives your hands a comfortable task. Compare the same pose before and after the move. This imagined exercise isolates lighting position; it is not a customer story or evidence of a particular app result.
Keep a repeatable setup
Remember the chair position, camera direction and time of day as starting notes, not permanent settings. The next day's weather may change the light. Repeat the quick test rather than applying the same exposure blindly. Save a liked frame to explain the intended mood to whoever photographs you next.
ShotCoach AI can help with framing and supported camera adjustments after you find the light. AI guidance is paid and device capabilities vary. Follow its ready cue, confirm the expression and tap the shutter yourself. A simple, comfortable setup gives that guidance a clearer starting point.
Before your next photo walk
Do I need a ring light for a window portrait?
Not necessarily. Start by testing the window you already have. Add equipment only if it solves a visible problem your location and timing cannot address.
Why does my face look orange on one side and blue on the other?
Different light sources may be contributing different colors. Compare a setup with fewer competing lights before trying to correct everything with a single white-balance adjustment.
ShotCoach AI
Try your next window portrait with ShotCoach AI's paid framing guidance on Android. Supported settings vary, and the final shutter tap is yours.
Get it on Google PlayAvailable for Android · AI guidance is paid